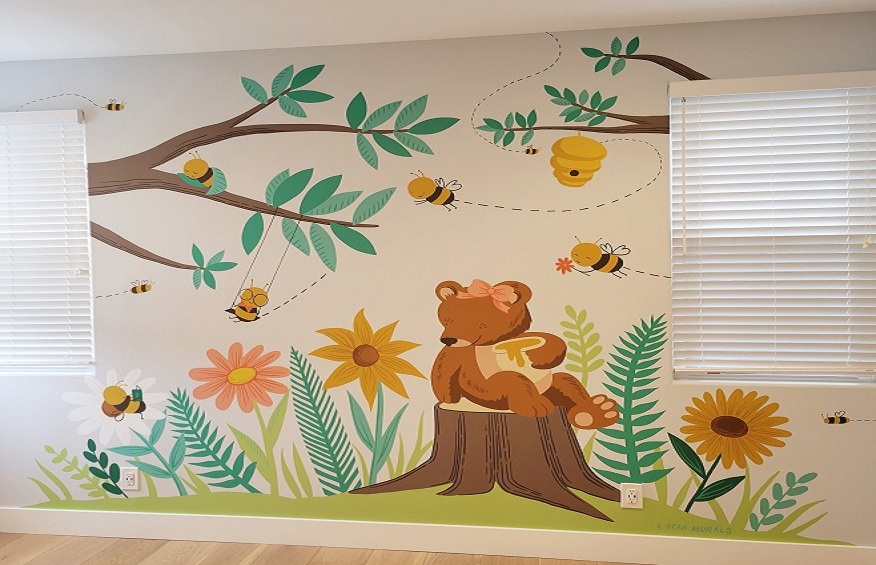
Nursery Wall Murals are an excellent idea to decorate your kid’s room. They enhance the appearance, captures your child’s fantasies, and adds life to the room. However, applying them requires some skills and you can end up making costly mistakes. Thre’s no need to worry, though! The right tips will help you to put up wallpapers successfully.

1. Prepare your wall
Preparing the wall and space is the first tip for successfully applying Wallpaper Murals. Clean the walls and remove the debris and traces of old wallpaper that might be in the way. Also, fill holes and level uneven joints in the wall to create a smooth surface.
Further, you can paint the wall before installing the mural. If you apply paint, give the wall time to dry thoroughly before installing your wallpaper.
2. Gather your supplies
You’ll need the following supplies to apply Nursery Murals in your kid’s room:
Wallpaper adhesive
Paint roller and paint tray
Brush
Trim guide
Rags for drips and cleaning
Water to activate past
3. Measure your walls
Most murals come in panels, meaning you’ll need accurately measure the walls before installing the wallpapers onto the wall. Ensure your measurement are precise to apply the Childrens Wall Murals successfully.
4. Mark the placement for the first panel
The first panel is essential to guarantee an even the application of a Space Wallpaper in a kid’s room. You’ll not have to measure and mark the application line of each panel if you get the first one flawlessly even. You can use a laser level to ensure every panel lines up properly.
After marking the placements, decide on your installation method depending on your plans and your kid’s preferences. Use a self-stick form, which allows you to move the panels easier or paste them to stick them permanently.
5. Roll wallpaper glue on the wall
Roll the glue on the wall when for each panel. Ensure you do this one panel at a time to prevent the glue from drying up, making you reapply or uneven the wall surface. Alternatively, you can apply the adhesive on the back of the wallpaper first and hang it.
6. Apply the panel from top to bottom
Apply the wallpaper at the top and let gravity do the work on its way down. However, you’ll match the images between the panels and ensure it lines up correctly. The task will be seamless if your first panel is straight and even.
Moreover, you’ll need to smooth out bubbles or creases that might arise. Do this as you apply the panel from top to bottom. If you wait too long, the glue will dry up, making it complex to smooth the bubble or avoid creasing.
7. Cut off the overlaps
Use your trim guide edge and razor blade to cut the excess overlap on the edges. Also, cut around outlets and woodworking on your wall. Ensure the sockets are accessible and other outlets are in your kid’s room.
Conclusion
Applying Nursery Wall Murals in your kid’s room doesn’t have to be an overwhelming task. It should be a fun activity that ends with admiration and pride in the transformation and aesthetics. The above tips will help you to successfully and flawlessly install the wallpapers.

